
EagerLED Academy
Modultiefe P2.5: Passt es in Ihren neuen Außenschrank?
November
For a new display, use the listed P2.5 module depth of 25 mm as one input to the cabinet drawing. It does not tell you how much room the assembled cabinet needs. Ask for a section drawing that shows the module, its mounting face, the installed connectors and the space needed to remove it through the planned service opening.
This guide is for a buyer comparing new outdoor cabinet proposals built around EagerLED’s 160 × 160 mm module, SKU P2.5-O16S-1415-160×160. It shows what to request in the drawing and how to catch a clearance problem before approving a sample. The product listing excludes replacement use in an existing old screen.
Put P2.5 module depth on the cabinet drawing
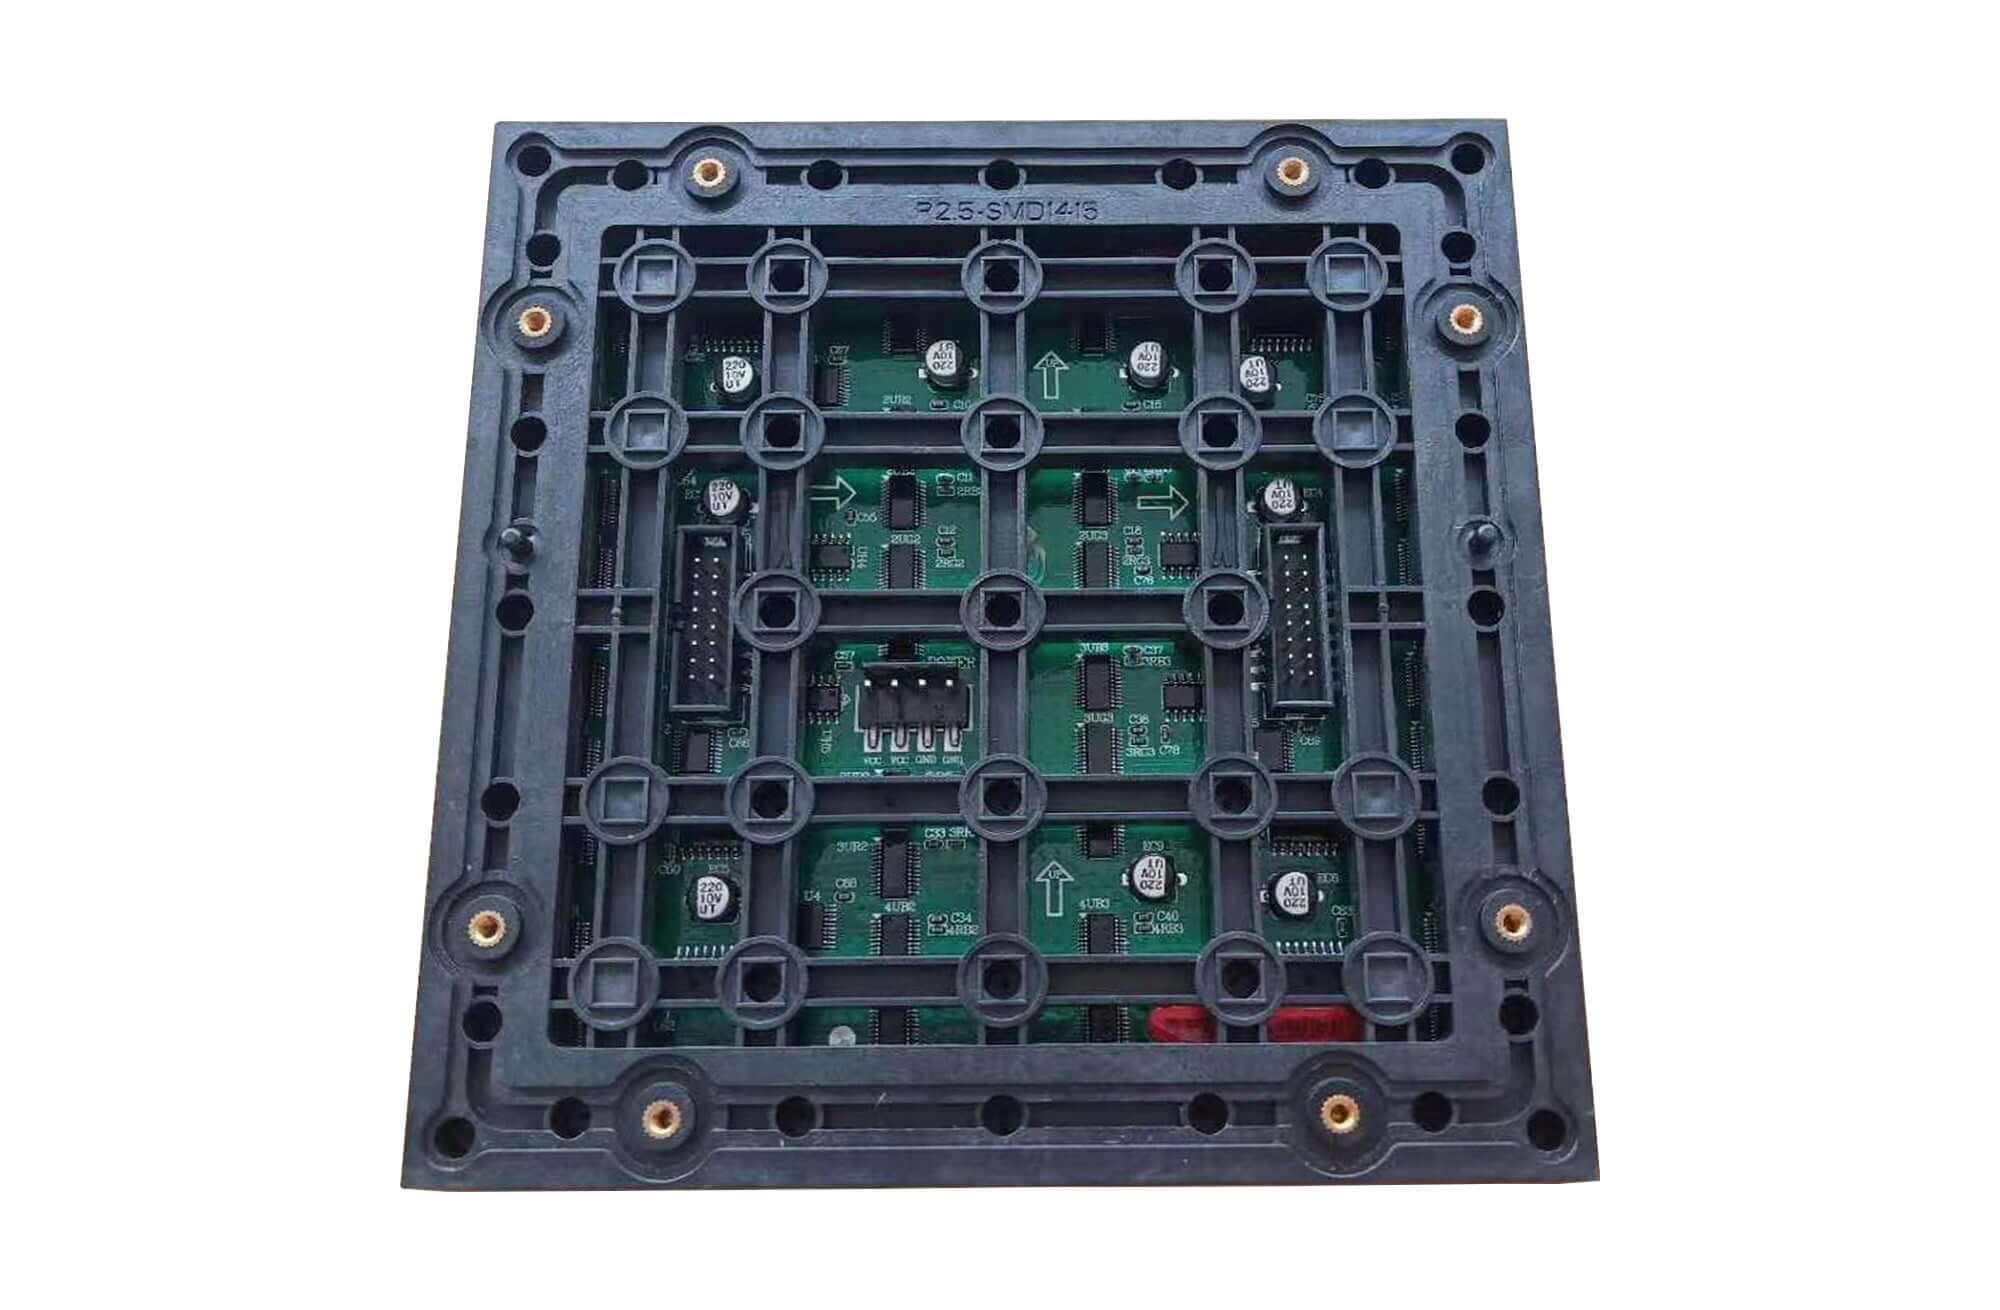
Das EagerLED P2.5 outdoor module listing gives the part dimensions as 160 × 160 × 25 mm and the resolution as 64 × 64 pixels. The first two physical dimensions describe the square module footprint. The final dimension describes the published depth of this part. Keep the pixel grid in a separate field so the mechanical drawing and display layout can be reviewed independently.
Mark an agreed reference plane on the cabinet section, such as the surface where the module seats against the support frame. Ask the cabinet supplier to locate both faces of the module relative to that plane and identify the surfaces they used to measure P2.5 module depth. Doing this prevents a drawer or door dimension measured from the outside of the enclosure from being compared directly with a part dimension measured somewhere inside it.
Specify the module SKU and the cabinet drawing revision together on the approval sheet. If the proposal changes to another model in the outdoor LED module catalog, ask for an updated section. Two modules sold at the same pixel pitch can have different outlines, mounting details or connector locations. The P2.5 module depth in this article applies to the listed part only.
Check the connector envelope in the closed cabinet
Review P2.5 module depth with the mating plugs and actual harness installed. A cable can protrude behind a module before it turns toward a support or wiring channel. Have the supplier mark the complete installed envelope, including the cable route and any space required by the cable manufacturer. The bend should be evaluated for the cable specified for the build, so an estimate based on a stock photograph cannot close this item.
Check the tightest point. The center of an empty cabinet may have plenty of space while a brace, closed access door or component near the edge intersects the harness. Ask for a second section if the tightest point sits in a different plane from the connector. Tag that point on the drawing so the person inspecting the sample can find it quickly.

As a drawing example, suppose the available space and installed assembly envelope are both measured from the same reference plane. If the proposed assembly extends 38 mm and a brace is at 35 mm, there is 3 mm of interference in that section. The proposed P2.5 module depth can still match the catalog perfectly. The sample needs a revised layout or another documented resolution before approval. These numbers illustrate the measurement method and do not describe this module’s connector dimensions.
| Zeichnungsgegenstand | Anzufordernde Nachweise | Send back for revision if |
|---|---|---|
| Seating face | Reference plane and module mounting details | The part and cabinet use different measurement origins |
| Closed door or brace | Section through the nearest hard obstruction | A connector or cable occupies the same space |
| Edge and corner positions | Drawing or sample view of the most crowded position | Only an unobstructed center position was reviewed |
| Dienstbewegung | Removal and refitting sequence for the installed cabinet | The drawing shows a seated fit but no way to release the module |
Prove the removal path on the cabinet sample
A section through the closed enclosure checks the normal operating position. Service is a separate movement. Ask the supplier to demonstrate releasing the specified fasteners, withdrawing the module, reaching the plugs and refitting the part on a sample. Use the same mounting orientation, access direction and nearby obstructions expected on the installation. The person accepting the cabinet should be able to repeat the sequence under the conditions defined for the project.
For rear service, show the available working space behind the cabinet on the installation drawing as well as the space inside it. For a proposed front service design, ask the cabinet supplier to identify the actual retention system and show what moves first during removal. The product dimensions alone do not establish a front or rear service method.

Record the accepted P2.5 module depth with the drawing revision, harness part reference, sample position and service direction. If a sample passes only after a cable is moved, ask the supplier to mark the revised route on the drawing. That gives purchasing and production the same definition of the assembly. Keep a photo of the closed cabinet and a photo of the sample during removal with the approval record.
For the sample inspection, identify a corner module and a center module before the supplier begins. Photograph the plugs at rest with the door open, then ask what evidence shows that the cables remain clear when the door is closed. A side view with a scale and marked reference plane is more useful than a photograph shot from across the shop. If a feature is hard to see, have the supplier point to it on the drawing and show it on the sample.
Ask who will supply the harness, retention hardware and cabinet drawing. Treat those items as separate deliverables on the quotation so that a change to one cannot silently change the accepted assembly. For instance, when purchasing substitutes a plug with a taller housing, open the clearance check again even though P2.5 module depth stays the same. If the supplier changes a support lip, repeat the removal demonstration at the affected position. The approval should name the conditions under which the fit was verified, including which sample position was demonstrated and which drawing revision it represents.
Keep P2.5 module depth in the inspection record alongside a short note explaining how the sample was checked. That makes the result usable by the receiving team without requiring them to reconstruct the design conversation.
Vor der Genehmigung sind noch einige Fragen zu klären.
Can I infer the finished cabinet’s depth from the module and door thicknesses?
No. A complete stack includes the placement of the mounting face, internal obstructions, installed plugs and cable routing. Compare the measured assembly envelope with the available space in a shared coordinate system.
Does the listing’s outdoor rating establish the completed cabinet’s rating?
Check the completed enclosure separately. The module listing does not document how the cabinet’s door, joints and cable entries are built. Ask the cabinet supplier what assembly and conditions any enclosure rating covers.
What should I do when suppliers disagree on the depth measurement?
Request an annotated side view showing the start and end surfaces of each measurement. Compare the views against the module reference plane and settle any differences on the actual sample before approving the cabinet revision.
Senden EagerLED the cabinet section for review
Share the P2.5 module depth you used, cabinet section, module SKU, proposed harness and service direction for your new build. Mark any obstruction that restricts clearance and identify the cabinet revision being quoted. Kontakt EagerLED about your new P2.5 cabinet layout with those details so the discussion can start from the same drawing.