
EagerLED Academy
Flexible LED Module Buying Guide: Pixel Pitch, Bending Limits and Column Planning
Nov
A flexible LED module is a soft, bendable display panel that lets you build curved walls, round columns and wave shapes without custom rigid cabinets. To choose one, start from viewing distance to pick the pixel pitch, check the module’s minimum bending diameter against the curve you need, then size the power supply and receiving cards from the module’s published power and resolution.
This guide is for AV integrators and fabricators planning an indoor curved display, often for the first time. It uses the specifications published on our flexible module product pages, explains the trade-offs between pitches, shows how to work out a round column, and lists the ordering conditions that matter before you buy. Where our pages do not state a value, we say so and point you to the specification sheet.
The flexible LED module range in our store is listed for indoor use. The 320 x 160 mm models covered below list IP31 protection and a working temperature of -20 to +60 °C (-4 to 140 °F), so they suit interiors such as retail, lobbies, stages and exhibitions rather than outdoor sites.
1. What a flexible LED module is
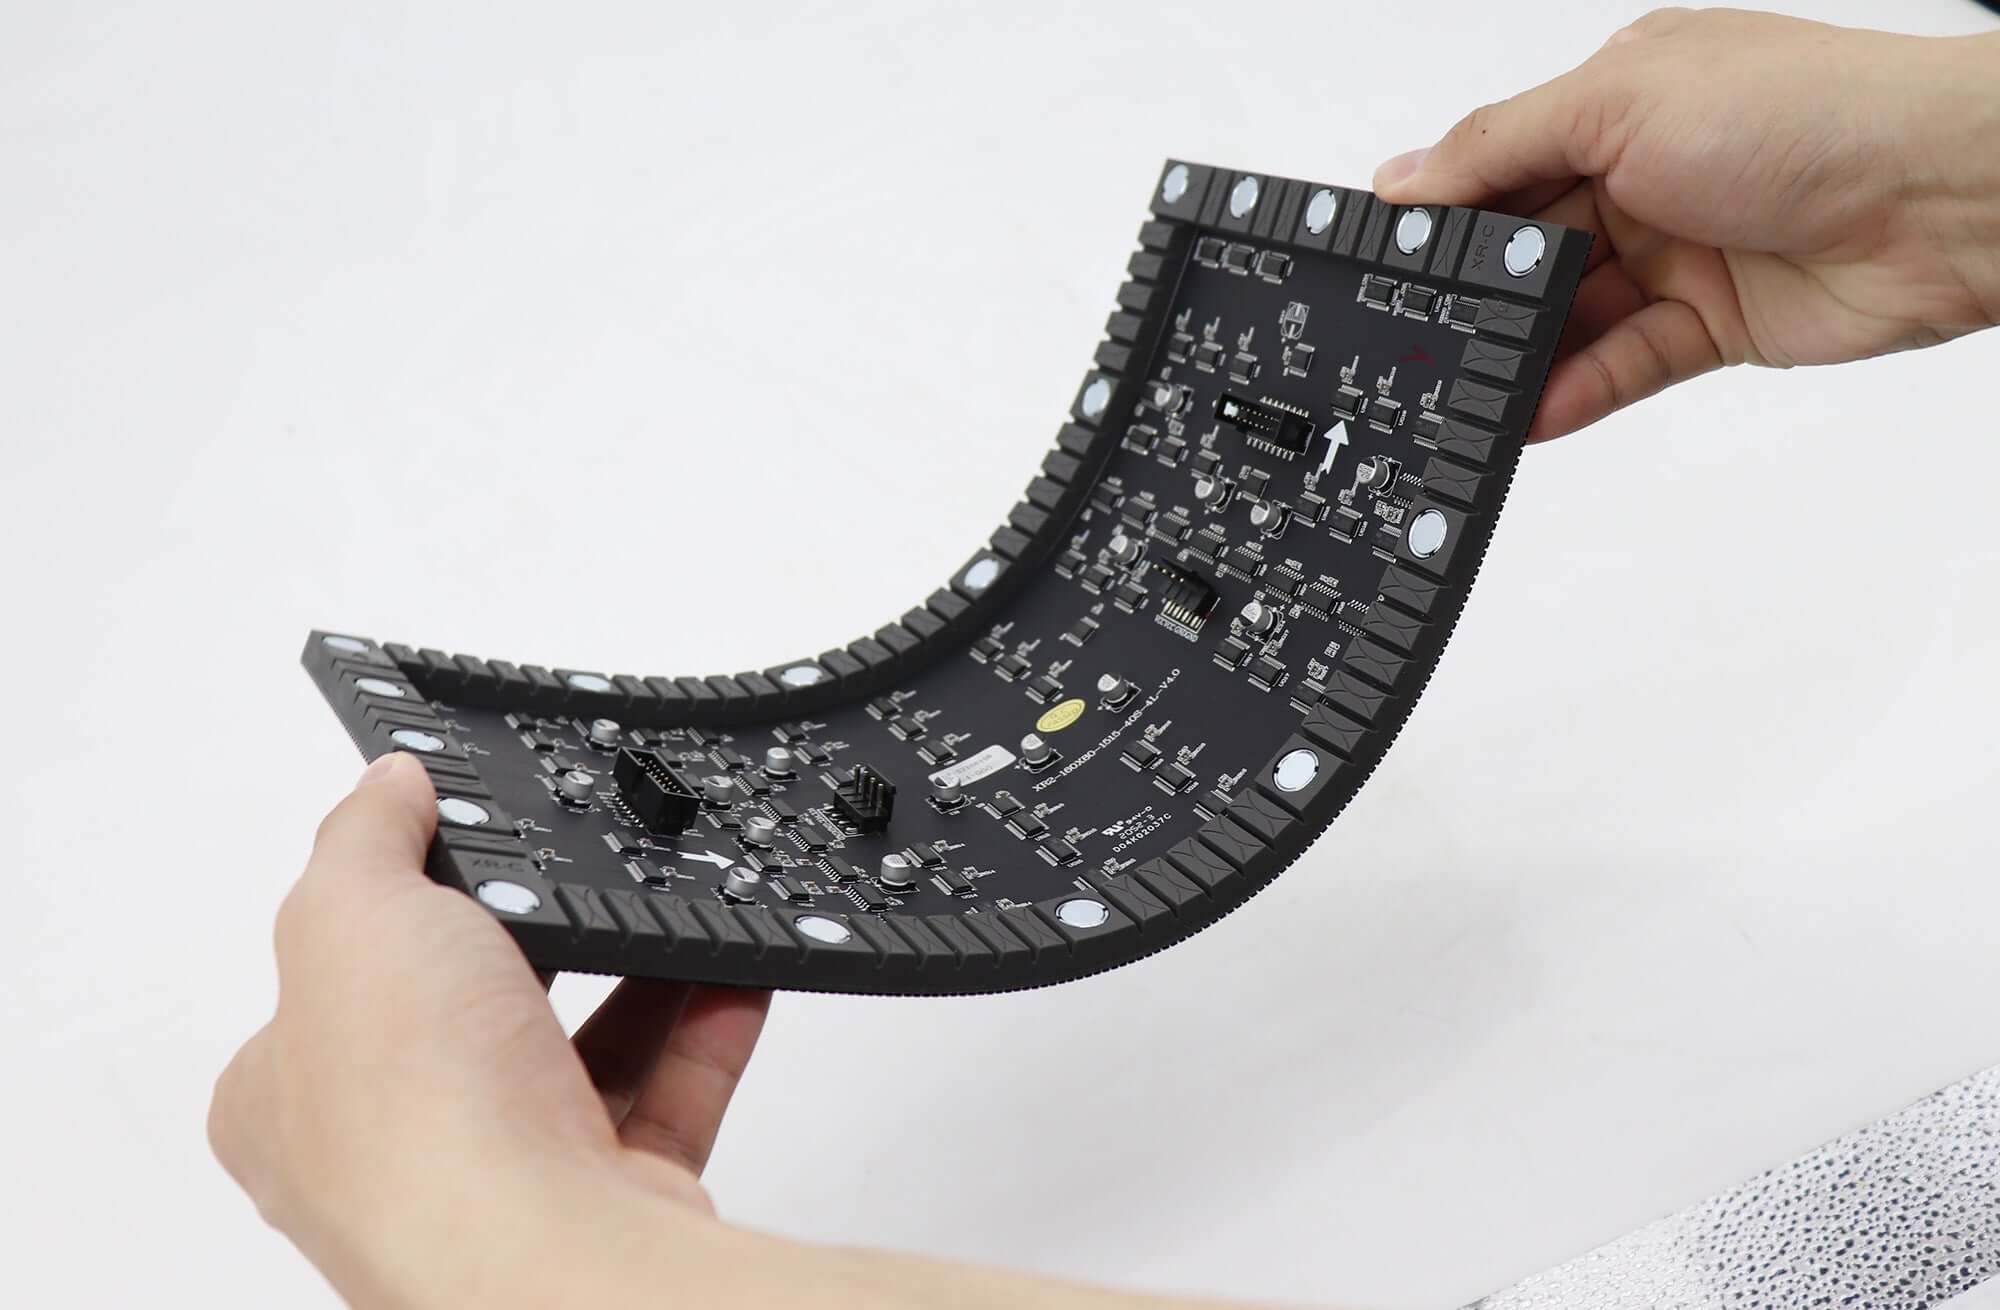
A flexible LED module uses a soft circuit board and a rubber-like frame instead of the rigid plastic shell of a standard module. The LEDs, driver ICs and connectors are the same kind of parts found on rigid modules, but the whole panel can bend along its length. That lets one module follow a curved surface while still showing a continuous image.
01. How it differs from a rigid module
Rigid modules are screwed or magnet-mounted onto flat cabinets, so a curved wall built from them is really a series of flat facets. A flexible LED module bends to match the curve itself, which gives a smoother surface on tight radii such as columns. The trade-off is that the module needs a supporting structure shaped to the final curve, because the panel itself is not self-supporting.
The modules pictured in this guide carry magnets along the frame, so they attach to a steel backing that has been rolled or shaped to the design. The structure, not the module, defines the curve.
02. Where flexible modules make sense
Typical uses are round and oval columns, curved reception walls, display counters with rounded fronts, ceiling bands and stage scenery with waves or arches. If the design is flat or only has a few large-angle corners, standard rigid modules and cabinets are usually simpler and easier to maintain. Choose a flexible LED module when the surface genuinely curves.
03. What the specification sheet tells you
Beyond pitch and size, a few lines on the product page describe how the image will look. The five 320 x 160 mm models in this guide all list constant-current drive and a 14-bit gray grade, which describes how finely brightness levels are stepped. Each page also lists the LED package, such as SMD1515 or SMD2020, and the driving mode, such as 1/40 or 1/16 duty. The driving mode matters to the control system more than to the viewer: the receiving card has to be configured for it. When you compare a flexible LED module from different sources, compare these lines under the same conditions rather than relying on the pitch alone.
2. Choosing pixel pitch
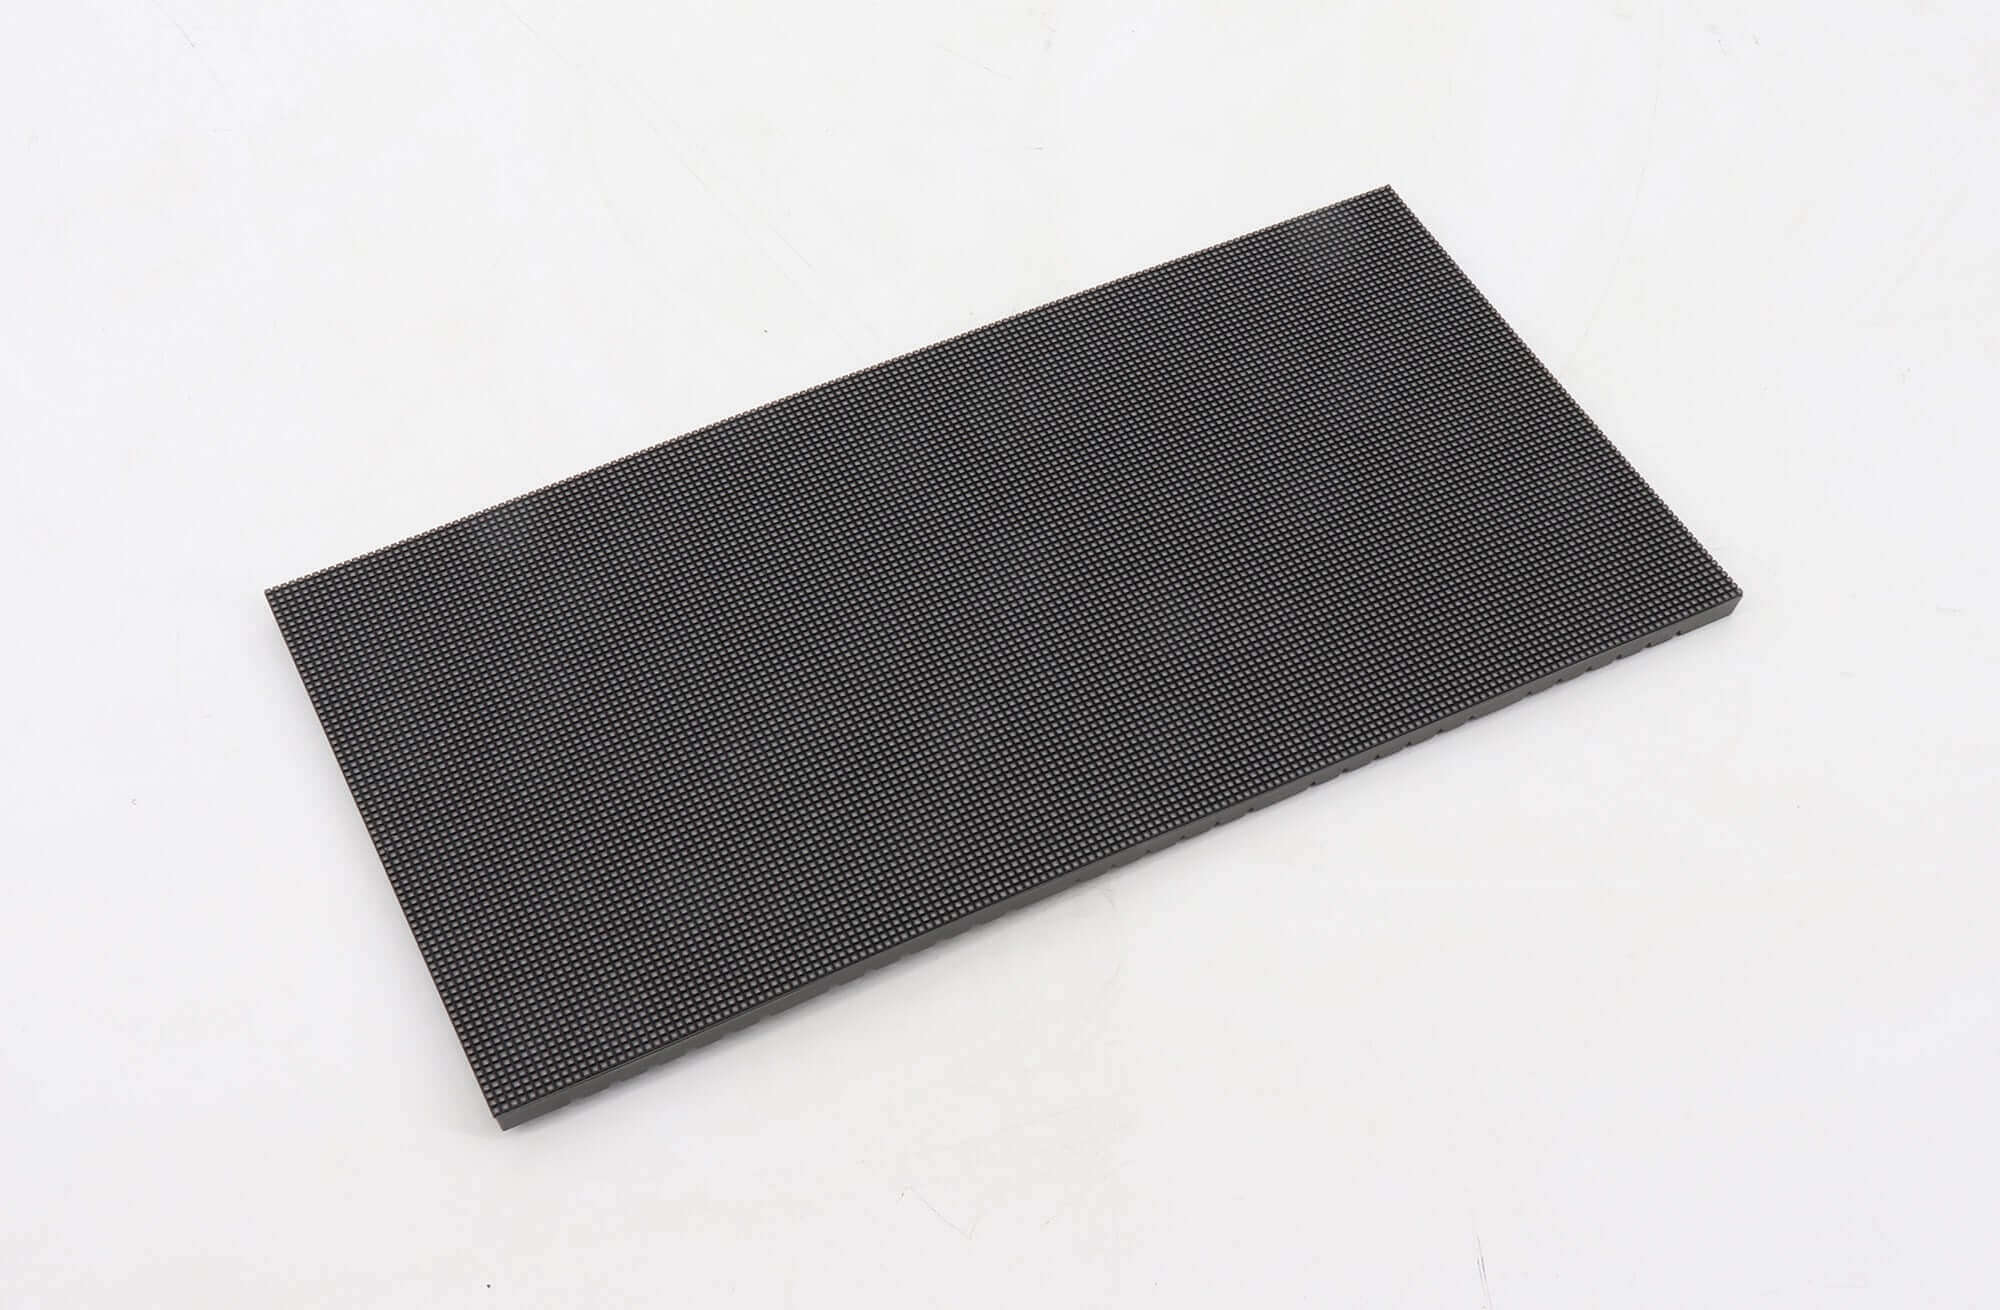
Pixel pitch sets how close viewers can stand before they see individual pixels, how much detail the display shows and how many modules, receiving cards and power supplies the project needs. Our product pages list a best viewing distance for each pitch, which is the most practical starting point.
| Pitch | LED package | Module resolution | Pixel density | Driving mode | Refresh | Max. power | Best viewing distance |
|---|---|---|---|---|---|---|---|
| P2 | SMD1515 | 160 x 80 | 250,000 per m² | 1/40 duty | ≥3,840 Hz | 21 W | ≥2 m (6.6 ft) |
| P2.5 | SMD1515 | 128 x 64 | 160,000 per m² | 1/32 duty | ≥1,920 Hz | 20 W | ≥2.5 m (8.2 ft) |
| P3.076 | SMD2020 | 104 x 52 | 105,689 per m² | 1/26 duty | ≥1,920 Hz | 20 W | ≥3 m (9.8 ft) |
| P4 | SMD2020 | 80 x 40 | 62,500 per m² | 1/20 duty | 1,920 Hz | 20 W | ≥3 m (9.8 ft) |
| P5 | SMD2020 | 64 x 32 | 40,000 per m² | 1/16 duty | ≥1,920 Hz | 15 W | ≥5 m (16.4 ft) |
All five pages list a module size of 320 x 160 mm (12.6 x 6.3 in), a depth of 8.5 mm (9 mm for P5), constant-current drive and a brightness of at least 800 cd/m² (nits). That brightness level is typical for indoor use.
01. Match pitch to viewing distance
If most viewers stand within about 2 to 3 m (6.6 to 9.8 ft), as in a shop or lobby, P2 or P2.5 keeps the image smooth. If the display is mainly seen from 5 m (16.4 ft) or more, such as a column in an atrium, P4 or P5 gives a lower cost per square meter with fewer modules, power supplies and receiving cards per area. Finer pitches are also listed in our range, including P1.25, P1.53 and P1.56 models; their full specifications are in the downloadable specification sheets on those product pages.
02. Consider cameras and refresh rate
Among the models in Table 1, the P2 page lists a refresh rate of at least 3,840 Hz, while the P2.5 to P5 pages list 1,920 Hz. If the display will be filmed, for example on a stage or in a broadcast studio, a higher refresh rate reduces the risk of visible scan lines on camera. For a retail column seen only by people, the difference usually matters less.
03. Check the content resolution
Work out the total pixel resolution before you design content. A flexible LED module at P2 gives 160 x 80 pixels, so ten modules in a row give 1,600 pixels across. At P4, the same ten modules give only 800 pixels. Content designers need this number to avoid blurry scaling.
04. Compare cost drivers between pitches
Each 320 x 160 mm module covers 0.0512 m² (0.55 sq ft), so one square meter needs about 19.5 modules regardless of pitch. What changes with pitch is the pixel count per square meter: 250,000 at P2 against 40,000 at P5, according to our product pages. More pixels per square meter means more receiving card capacity and more data cabling for the same area, and usually a higher price per flexible LED module. For a large, distant display, a coarser pitch can cut the control system cost noticeably without a visible loss in quality.
3. Planning curves and columns
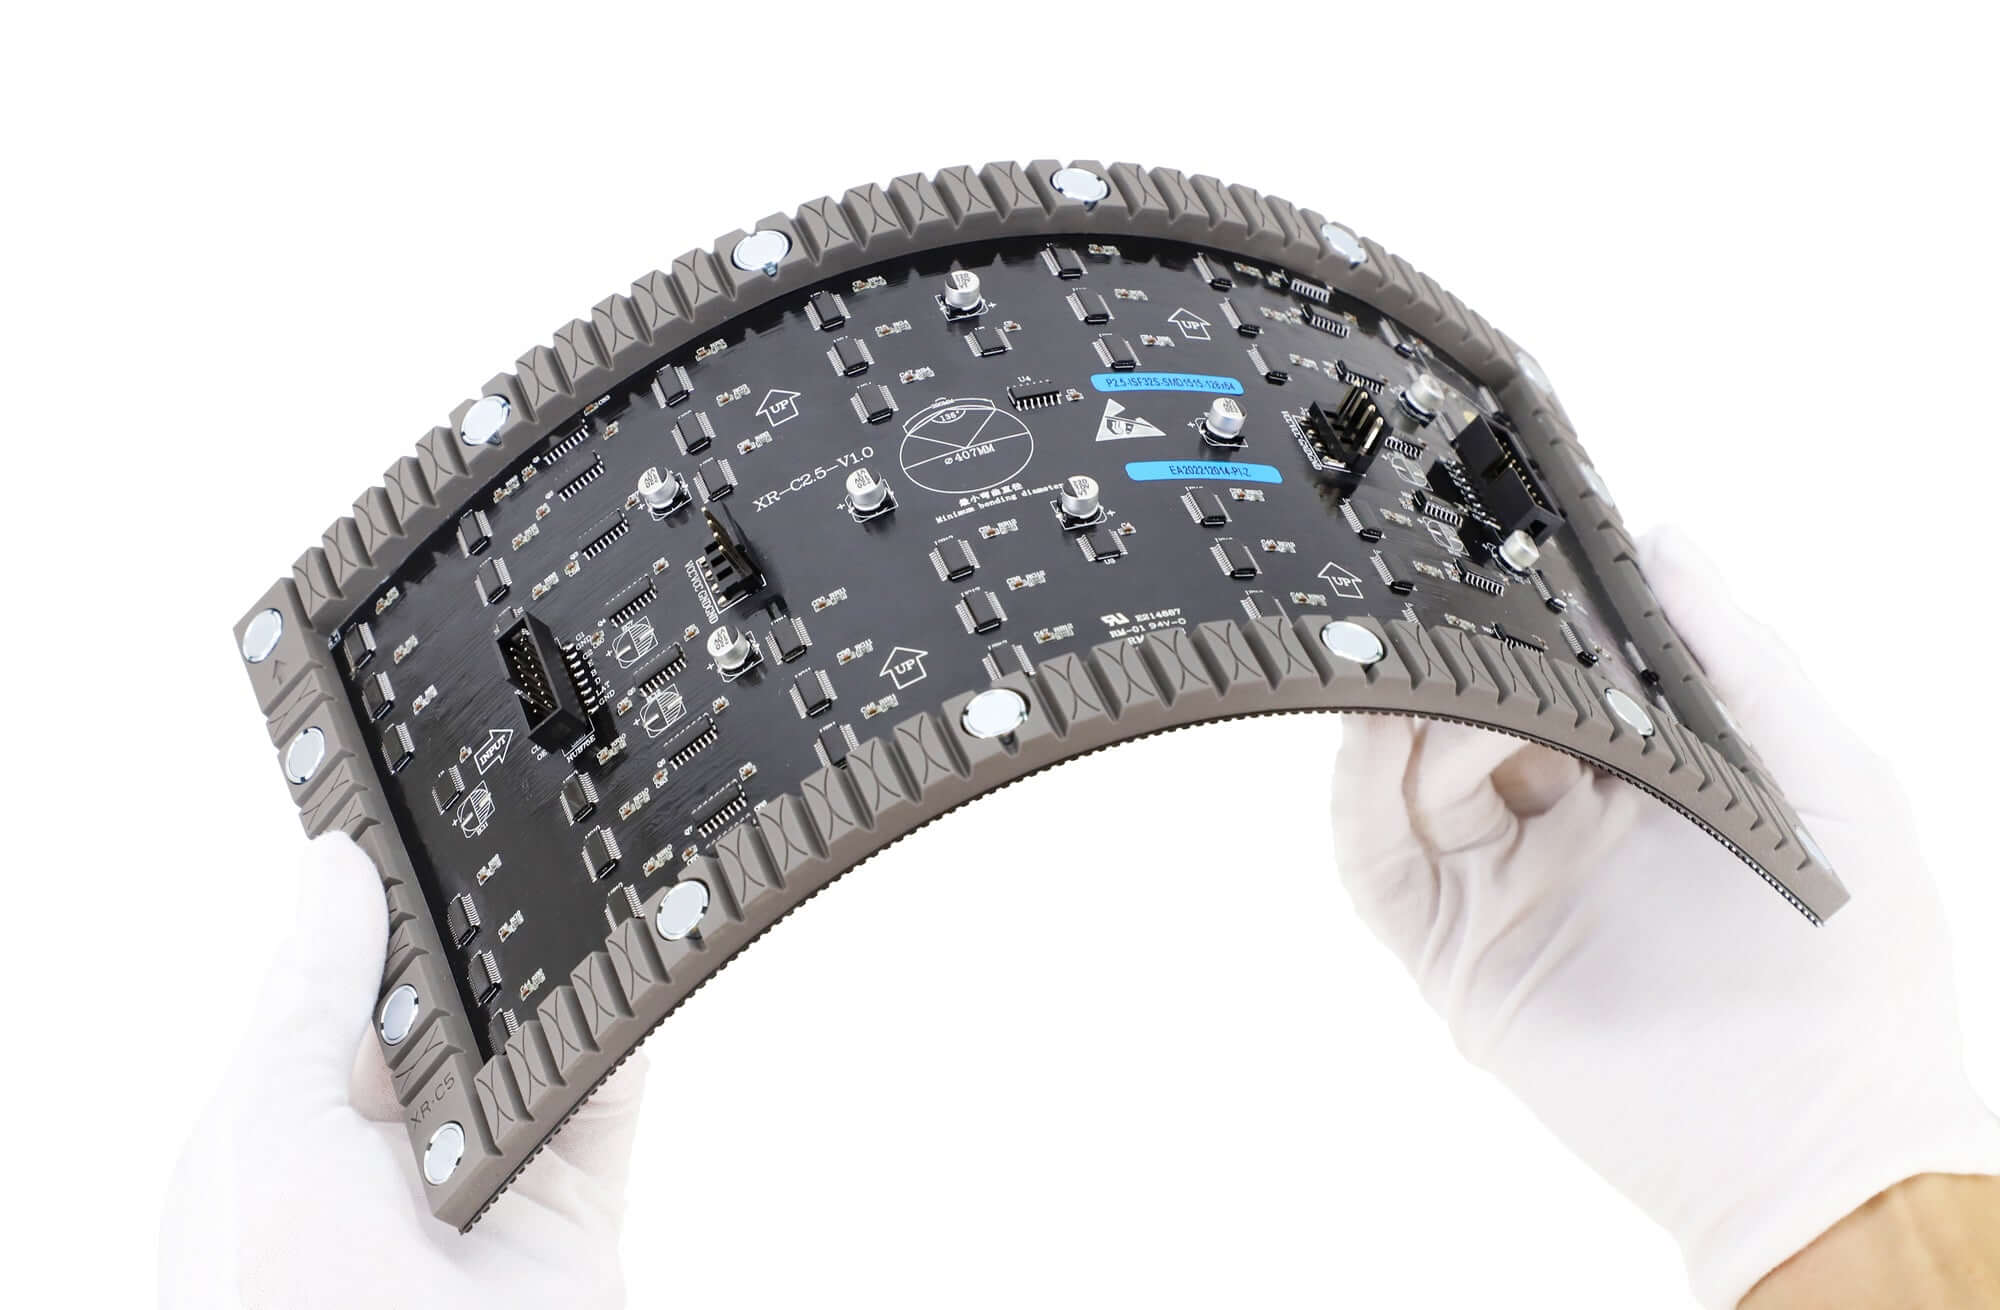
The bending limit is the first technical check for any curved design. A flexible LED module can bend only so far before the board, solder joints or frame are stressed. Check the minimum bending diameter on the specification sheet or the module itself before you fix the design.
01. Read the minimum bending diameter
On the P2.5 module pictured above, the board itself is marked with a minimum bending diameter of 407 mm (16 in). That means a column built from this module should have a diameter of at least 407 mm, and in practice a little more to leave margin. Other pitches and sizes can have different limits, so confirm the value for the exact model you plan to use.
02. Work out a round column
For a round column, the circumference must be close to a whole number of modules, otherwise the last module will not close the ring cleanly. With 320 mm modules laid lengthwise around the column, the circumference is the number of modules multiplied by 320 mm, and the diameter is the circumference divided by π (about 3.1416).
| Modules per ring | Circumference | Column diameter | Pixels around the ring at P2 | Pixels around the ring at P4 |
|---|---|---|---|---|
| 6 | 1,920 mm (75.6 in) | 611 mm (24.1 in) | 960 | 480 |
| 8 | 2,560 mm (100.8 in) | 815 mm (32.1 in) | 1,280 | 640 |
| 10 | 3,200 mm (126.0 in) | 1,019 mm (40.1 in) | 1,600 | 800 |
| 12 | 3,840 mm (151.2 in) | 1,222 mm (48.1 in) | 1,920 | 960 |
Each row of modules adds 160 mm (6.3 in) of height. A 1,920 mm (75.6 in) tall column therefore needs 12 rows. The values in Table 2 are geometric calculations, not product data. The structure must also allow for the module depth and the thickness of the steel backing, so ask your structural fabricator to confirm the final diameter.

03. Think about seams and module orientation
Modules can be laid lengthwise or crosswise around a curve. Laying them so the bend runs along the longer side spreads the curvature over more of the board. Whichever orientation you choose, keep all modules the same way round, so the data direction and pixel mapping stay consistent. Square 250 x 250 mm modules, such as the P2.6 above, make column math easier when the circumference is fixed by architecture.
04. A worked column example
Suppose a lobby column needs to be about 800 mm (31.5 in) in diameter and about 1.9 m (6.2 ft) tall, viewed from 3 m (9.8 ft) or more. From Table 2, 8 modules per ring give a diameter of 815 mm, which is above the 407 mm minimum bending diameter marked on the P2.5 module with plenty of margin. Twelve rows give 1,920 mm of height. That is 96 modules in total.
At P2.5, each flexible LED module has 128 x 64 pixels, so the column shows 1,024 pixels around and 768 pixels high. The maximum power at 20 W per module is 1,920 W. These figures give the content designer, the electrician and the controller supplier the numbers they need. This is a worked example with assumed dimensions; your own project should be calculated from its real drawing.
4. Power, control and mounting
A flexible LED module draws power and data like any other module, so the electrical and control design follows the same rules as a flat wall. The difference is that the supporting structure is usually custom, so plan cable routes and access before fabrication.
01. Size the power supply
Use the maximum power listed on the product page as the design value. A column of 8 modules per ring and 12 rows has 96 modules. At P2 the page lists 21 W per module, so the maximum is 96 x 21 W = 2,016 W. Average power in normal content is lower than this figure, but power supplies and wiring should be sized for the maximum, with margin. The supply voltage depends on the module and power supply chosen, so confirm both in the specification sheet.
02. Size the receiving cards
Each receiving card has a pixel limit and a connector limit. For a column of 96 P2 modules at 160 x 80 pixels each, the total is 1,228,800 pixels, which has to be split across several cards. Our NovaStar MRV receiving card guide explains how to match cards to module cables. The P2 module uses 1/40 duty, so confirm that the chosen receiving card and its configuration support that driving mode and the module’s driver IC.
03. Mount on a shaped steel backing
The modules shown in this guide carry magnets on the frame. They attach to a steel sheet or frame that has been shaped to the curve, which also lets technicians remove a module from the front for service. Make sure the backing follows the curve smoothly; a flexible LED module will follow any bumps or flat spots in the structure, and they will show on screen.
04. Plan service access
Magnetic mounting lets a technician pull a single flexible LED module off the front, but the cables behind it still need enough slack to come forward with it. Leave service loops in the signal and power cables, label each cable with its module position, and keep the receiving cards and power supplies where they can be reached from an access panel. On a column, an access door in the structure is far easier than removing several modules to reach a failed power supply.

5. Ordering conditions to know first
Each flexible LED module page in our store includes a notice before ordering. These points affect how you plan quantities and spares, so read them before you place an order.
| Notice | What it means for your project |
|---|---|
| Parts included: LED module, signal cable between modules, power cable between module and power supply | Power supplies, receiving cards and the steel structure are ordered separately |
| Buy modules of the same batch for one screen, in one order | Order all modules for one display at once, including spares, to avoid brightness and color differences |
| The modules cannot be used as spare parts for an existing older display | Plan a new display with these modules; do not mix them into an old screen |
| Prices do not include destination tariffs or duties | Budget for import clearance and local duties |
01. Plan spares in the same order
Because modules from different batches can differ in brightness and color, order spare modules together with the main quantity. For a curved display, where a module may be harder to replace without disturbing its neighbors, a small stock of spares from the same batch is worth the cost.
02. Collect the details before you ask for a quote
To quote a flexible LED module project accurately, we need the shape and dimensions of the surface, the curve diameter or radius, the viewing distance, whether the display will be filmed, the content resolution you need and the delivery country. A simple drawing is usually enough to start.
Frequently asked questions
How much can a flexible LED module bend?
It depends on the model. The P2.5 320 x 160 mm module shown in this guide is marked with a minimum bending diameter of 407 mm. Check the specification sheet or the module marking for the exact model, and design the curve with some margin above the minimum.
Can a flexible LED module be used outdoors?
Not the models covered here. Their pages list IP31 protection and a working temperature of -20 to +60 °C, which suits indoor installations.
What pixel pitch should I choose for a column?
Start from viewing distance. Our pages list a best viewing distance of at least 2 m for P2, 2.5 m for P2.5, 3 m for P3.076 and P4, and 5 m for P5. Choose the coarsest pitch that still looks smooth from where most people will stand.
Can I use these modules to repair my existing screen?
No. The order notice on our flexible module pages states that the modules cannot be used as spare parts for an existing older display. They are intended for new displays built from one batch.
What is included with each flexible LED module?
According to the order notice on our product pages, each module comes with the LED module itself, a signal cable between modules and a power cable between the module and the power supply. Power supplies, receiving cards, the controller and the steel structure are separate items, so list them in your budget and quote request.
Why should spare modules be ordered with the main quantity?
Our pages ask buyers to order all modules for one screen from the same batch, in one order, to avoid brightness and color differences. Spares bought later may come from a different batch and stand out on the finished display, so include them in the first order.
How is a flexible LED module mounted?
The modules shown in this guide have magnets along the frame and attach to a steel backing shaped to the curve. The structure defines the curve, so it should be fabricated accurately before the modules are installed.
Planning your flexible LED project
You can compare the models discussed here on our product pages: the P2 SMD1515 flexible module, P2.5 flexible module, P3.076 magnet flexible module and P4 flexible module, or browse the full LED flexible module range, including the EA-Flex fine-pitch models.
For a project quote, send us your design details: a drawing of the curved surface with dimensions, the curve diameter, viewing distance, whether the screen will be filmed, the delivery country and the quantity including spares. Product videos are also available on the EagerLED factory YouTube channel.